Home > Windows Applications > Web Tracks Report Designer
Web Tracks Report Designer
Executable Name: ReportEditor.exe
Default Location: C:\Program Files\Gritware\Report Editor
Requirements: .NET Framework version 3.5.1
Purpose: Use to customize your Purchase Order and Service Desk Ticket.
USAGE
Launch the report editor from the Web Tracks -- Windows Utilities Program Group.
From the file menu choose Open...
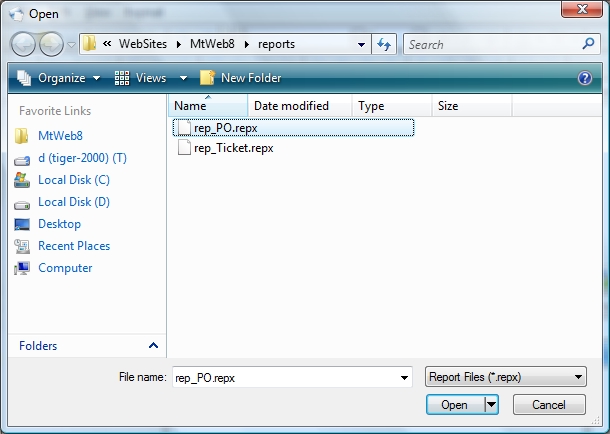
The report files which Web Tracks uses can be found in the installation folder (default 'C:\Program Files\Gritware\Web Tracks\WebRoot\Reports')
There are two built-in reports reports which you may modify. Choose rep_PO.repx to modify the purchase order report. Choose rep_Ticket.repx to modify the service desk Ticket report.
IMPORTANT: MAKE A BACKUP COPY OF THE FILE YOU ARE EDITING BEFORE MODIFYING EITHER OF THESE REPORTS.
Adding a Database field to a report
- Drag a 'Label' control from the designer ToolBox to the 'Designer' Window.
- Set the 'Name' property of the label to the database field name. For the rep_PO.repx file you may choose any field from the 'PO', or 'POLine' table. For the rep_Ticket.repx file you may choose any field from the 'event' or 'eventComment' table.
- Set the 'Text' property to the same value you gave the 'Name' property.
You may also add static text, pictures and other objects to the report.
NOTE: You may see some items appear in pink shading when modifying a report. This simply indicates that the controls overlap and there could be formatting issues when exporting the report to certain formats. The PO and Ticket reports are only exported to PDF format which can properly handle overlapped controls. Therefore you may ignore this warning message.
See also
| 
 Page URL: